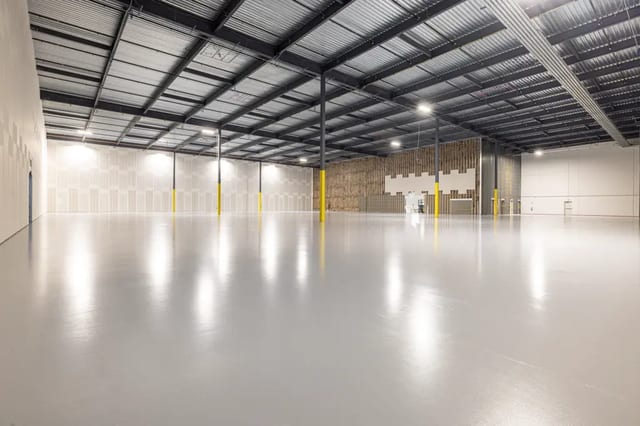
What to Expect When Installing an ESD Flooring System
Installing an electrostatic discharge (ESD) floor is more than just applying a coating—it’s a multi-step process that balances schedule, system requirements, and facility constraints. This guide outlines how resinous ESD systems are typically installed, including key stages like surface prep, moisture testing, and coating application. We also touch on alternative ESD-compliant flooring types for comparison.
Resinous ESD Epoxy & Polyurethane Flooring Installation
Example Project Scenario
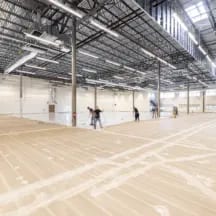
To help illustrate a typical ESD epoxy flooring installation, we’ve created an example project based on a real-world electronics manufacturing facility. Electronics Assembly and QA Lab (Lab): Approximately 29,000 square feet requiring an ESD epoxy and polyurethane flooring. Joint Filling Scope: Nearly 6,000 linear feet of joint repair and filling throughout all areas to ensure a monolithic and compliant substrate before ESD installation.
This resinous ESD epoxy flooring installation is representative of static dissipative systems used across semiconductor, aerospace, and electronics manufacturing environments.
Site Assessment & Pre-Install Walkthrough
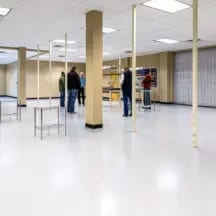
Every successful ESD flooring installation begins with a thorough site walkthrough. This in-person visit allows the resinous flooring contractor and facility manager to review the floor plan, confirm the intended scope, and align on system performance requirements for each area.
During the walkthrough, the condition of the existing concrete slab is assessed, square footage per room is measured, and surface irregularities such as cracks, spalls, or prior coatings are noted. This phase is also used to evaluate the need for concrete repairs, control joint filling, leveling compounds, or moisture mitigation.
On average, this phase takes 1 to 2 hours depending on facility size and complexity. As an experienced ESD floor installer, this site visit is completed as part of the sales process and is not considered a project workday.
Moisture Testing
Moisture testing is essential for verifying substrate readiness prior to ESD flooring installation. Excess vapor in the slab can weaken bond strength and disrupt the floor’s ability to safely dissipate static electricity. Two tests are used to evaluate moisture levels: The Calcium Chloride test measures surface emissions (MVER) and the Wagner Rapid RH test assesses internal humidity within the slab.
Full testing and results typically require at least 3 days. See our FAQs for how each test works and what moisture levels are considered acceptable for ESD flooring.
Concrete Repair and Joint Filling
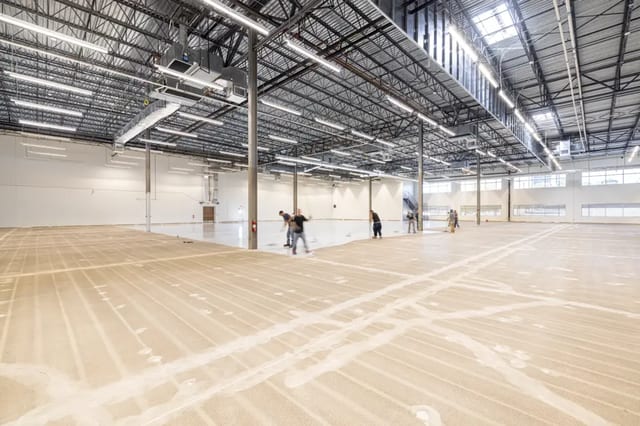
Before any ESD flooring system can be applied, the concrete slab must be structurally sound and properly prepared. This includes repairing cracks, spalls, and delaminated areas using industrial-grade mortars, and filling control joints with semi-rigid filler to ensure a smooth, monolithic surface.
In our example facility, over 6,000 linear feet of joint filling was required along with light surface repair—spanning approximately three days. Time and labor requirements for this phase scale with joint density, slab condition, and whether joints need full reconstruction. Significant deterioration will require extended prep time.
Shot Blasting
Once structural repairs are complete, the floor is shot blasted to remove contaminants and create a textured surface profile—an essential step for the multi-layered ESD epoxy flooring.
In the 29,000 sq. ft. lab area of our project example, shot blasting was completed in two days. Divided areas with smaller spaces and tight configurations may extend this timeline to three or four days
Moisture Vapor Barrier
If slab testing reveals elevated vapor emissions, a moisture mitigation layer must be installed before applying any ESD coating. This barrier protects the resinous system from moisture-related failure and serves as the primer for the epoxy base layer.
Our single-room example lab allowed one day for the vapor barrier installation, with an 8–12 hour cure time before continuing. The timeline for this phase depends on whether the barrier is needed at all, plus factors like square footage and layout segmentation.
ESD Resinous Flooring system
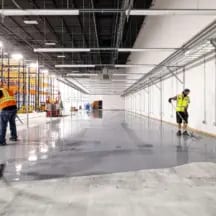
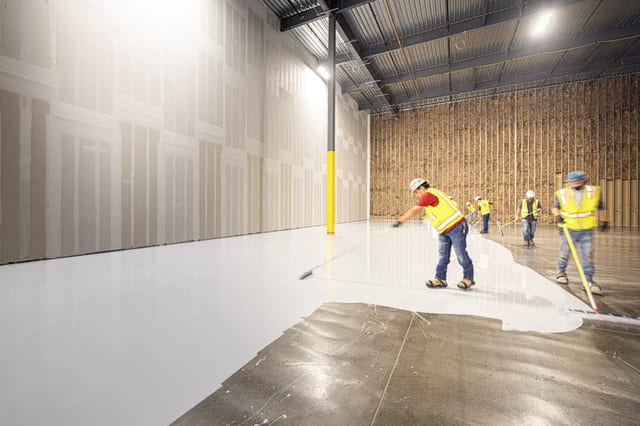
Our resinous ESD epoxy and polyurethane flooring solution is engineered for electrostatic control, chemical resistance, and durability. This multi-layer ESD system begins with a primer coat—either a previously applied moisture vapor barrier or a standard epoxy primer. In our example facility, the primer—installed the prior day as a moisture vapor barrier—served dual duty as the system’s first coat.
The next layer is a high-build epoxy body coat that forms the structural foundation of the system. Once cured, copper grounding strips are laid across the surface at a rate of one strip per 1,000 square feet and connected to verified grounding points. A final ESD-rated polyurethane top coat completes the floor, delivering a durable, dissipative surface with a clean industrial and scratch-resistant finish. This combination of layers creates a high-performance conductive flooring system that meets demanding electrostatic control requirements.
For the 29,000-square-foot lab, this phase required two days: one for the epoxy body coat, and one for copper strip installation and polyurethane topcoat application. Each layer was followed by an overnight cure time of 8 to 12 hours before progressing to the next.
Electrostatic Dissipating Testing
The final phase of the project is ESD compliance testing to verify that the flooring system meets static control specifications. Testing is performed the day after the topcoat is applied and includes surface resistance measurements, point-to-point and point-to-ground resistance tests, and confirmation of grounding continuity. This test ensures that the installed system meets static control thresholds expected of certified static dissipative coatings used in mission-critical environments. In our example facility, this process took approximately 2 to 3 hours, after which the space was cleared for occupancy and operational use.
Project TImeline Summary
This 29,000 sq. ft. electronics lab ESD flooring project was completed in 11.5 days
| Scope of Work | Project Timeline |
| Moisture Testing | 3 days |
| Concrete Repair & Joint Filling | 3 days |
| Shot Blasting | 2 days |
| Moisture Vapor Barrier (or Primer Coat) | 1 day |
| Epoxy Body Coat | 1 day |
| ESD Polyurethane Top Coat with Copper Strips | 1 day |
| Final ESD Testing | 1/2 day |
Our Clients


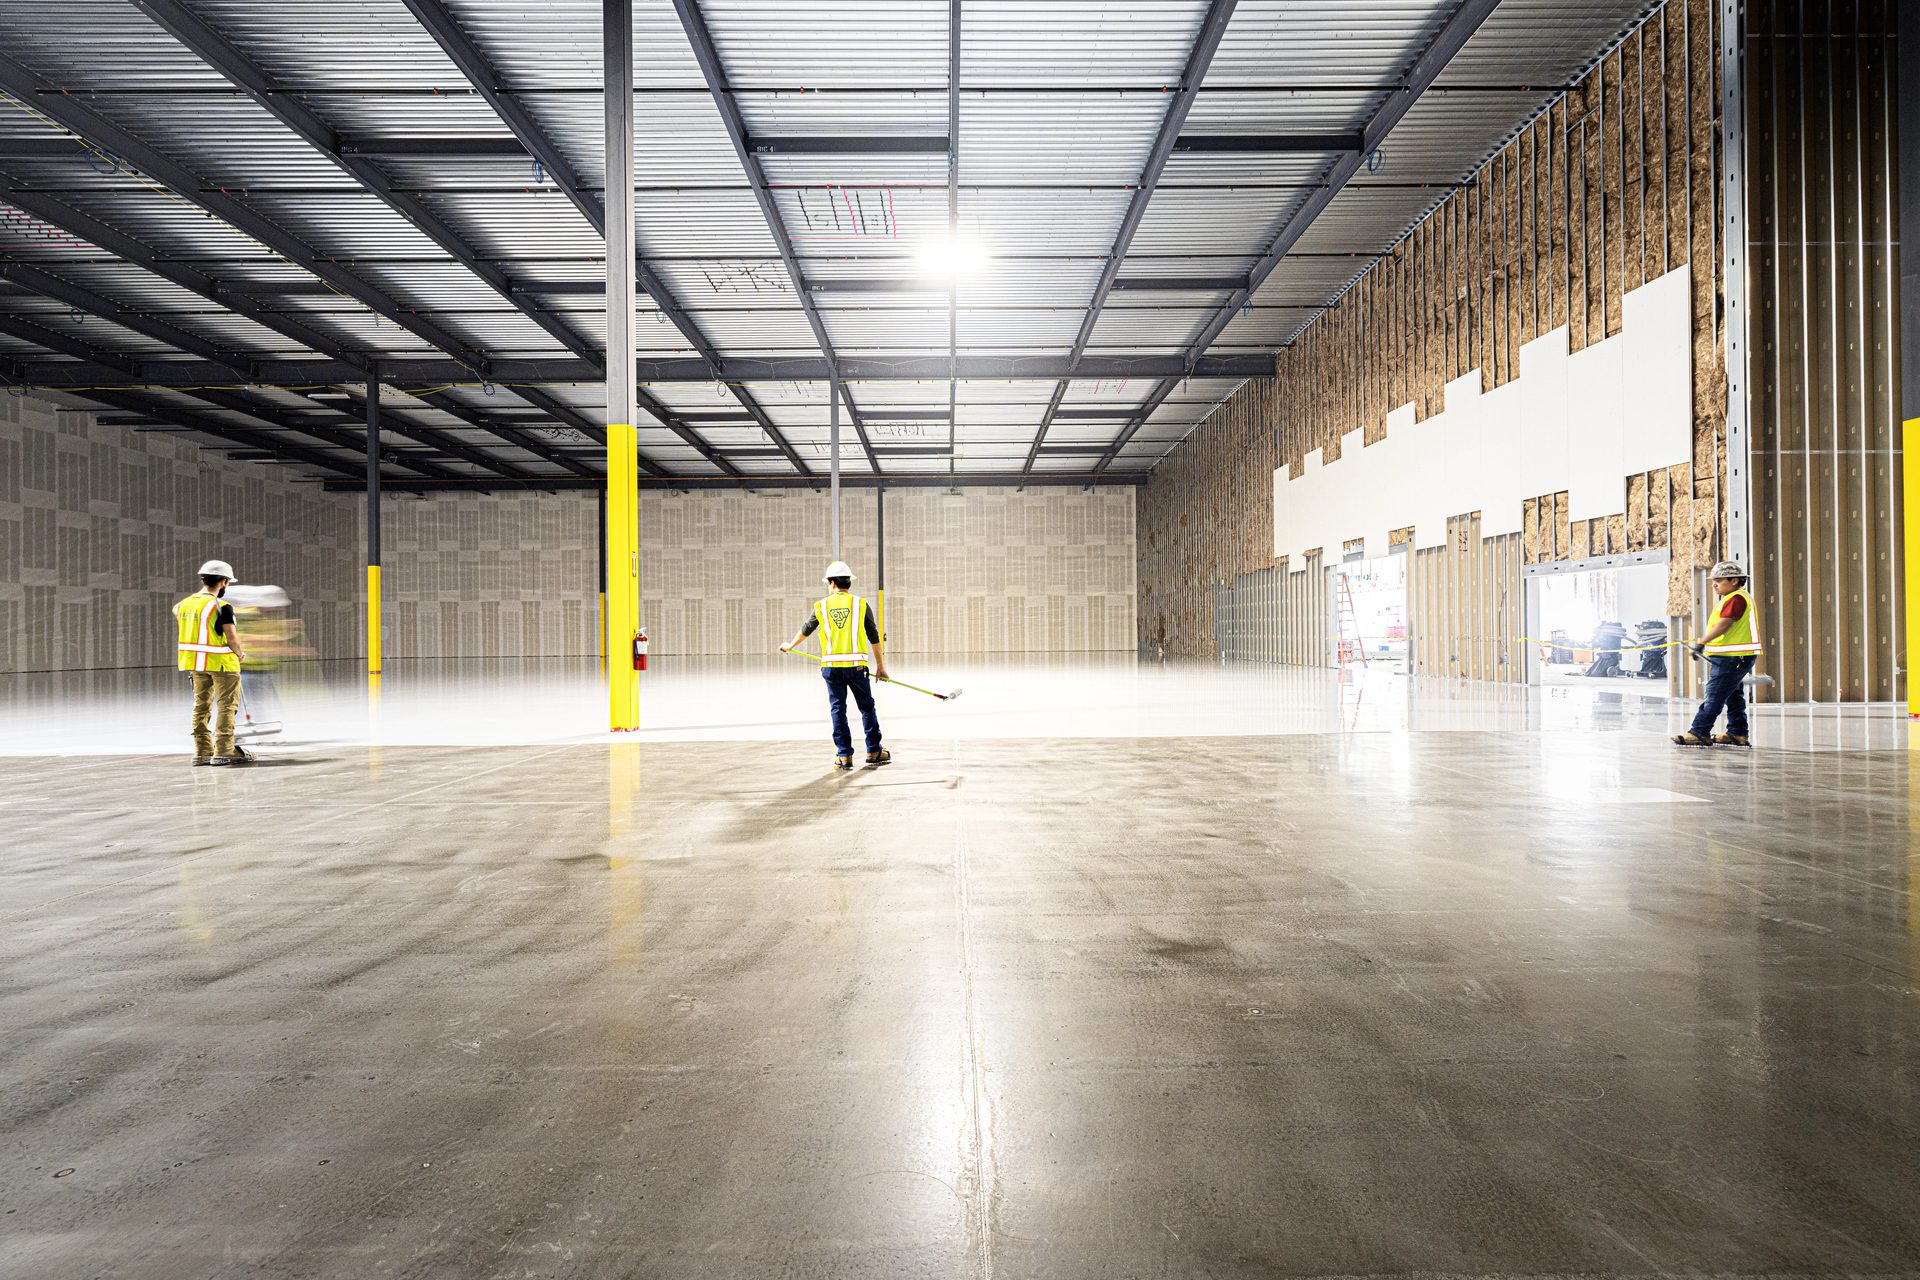
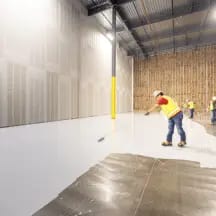
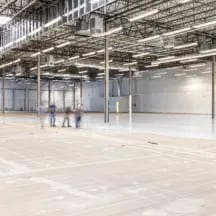
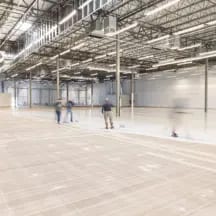
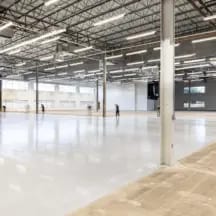
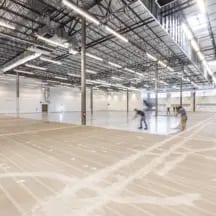
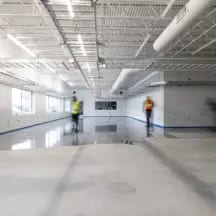
See our team At Work installing ESd Flooring
Installation Timeline Comparison for Common ESD Flooring Systems
To help evaluate the installation requirements of various ESD flooring systems, the table below compares estimated installation timelines for five common solutions—based on a 29,000-square-foot electronics lab, similar in size and scope to our featured epoxy project. These estimates reflect only the flooring installation portion of work.
Moisture testing and final ESD compliance testing are consistent across all systems and are therefore excluded from the table. Similarly, substrate preparation tasks such as concrete repair, control joint filling, and moisture mitigation can vary significantly by facility and are also omitted from this summary.
Note: The table outlines generalized installation sequences. Actual steps may vary depending on manufacturer specs, facility layout, performance requirements, or contractor methods.
| Flooring Type | Installation Process Summary | Estimated Timeline |
| ESD Resinous Flooring (Epoxy and Polyurethane) | • Apply epoxy primer or moisture vapor barrier • Install high-build conductive epoxy body coat • Lay copper grounding strips every 1,000 sq. ft. • Apply ESD polyurethane top coat • Allow for overnight cure between layers | 3 days |
| ESD Rubber Tiles | • Dry-fit layout of interlocking tiles • Install tiles using pressure-sensitive adhesive or by clicking into place • Secure perimeter edges • Attach grounding strips to building ground | 2 days |
| ESD Vinyl Tile | • Apply conductive adhesive in grid pattern • Set tiles carefully to maintain spacing and orientation • Roll floor to ensure bond • Connect copper foil grounding under tile rows • Apply static dissipative finish if required | 2 – 3 days |
| ESD Carpet | • Lay conductive underlayment or grid • Position and install carpet tiles with pressure-sensitive adhesive • Use conductive perimeter grounding tape or clips • Test grounding continuity across grid | 2 days |
| ESD Floor Wax | • Apply 2–4 coats of static dissipative floor finish • Allow proper dry time between coats • Burnish if required to meet gloss or resistance targets | 1 – 2 days |
Discuss your project & Get a Quote
We’re here to guide you through the design of our products. An ESD Floor Specialist will reach out within one business day.
Frequently asked Questions
The Calcium Chloride test measures the moisture vapor emission rate (MVER) from the surface of a concrete slab. A dish of calcium chloride (a desiccant) is placed under a sealed dome on a clean section of concrete for 24–72 hours. The amount of moisture absorbed by the salt is converted into a pounds-per-1,000-square-feet-per-24-hours reading. This test reflects surface-level emissions and can be influenced by ambient conditions and slab sealing.
Acceptable Result for ESD Flooring: Most resinous ESD systems require an MVER of ≤3.0 lbs/1,000 sq. ft./24 hrs for direct application without additional moisture mitigation.
See industry standard ASTM F1869 for more information about Calcium Chloride Test for surface vapor emission rate (MVER).
The Wagner Rapid RH test measures relative humidity (RH) inside the concrete slab by placing sensors in small drilled holes (typically at 40% depth of the slab). The probe reads the internal moisture condition of the slab rather than surface emissions, making it more predictive of long-term flooring performance.
Acceptable Result for ESD Flooring: Most resinous ESD systems require an internal RH of ≤75% for direct installation. RH values between 75%–85% may be acceptable with a moisture mitigation system or epoxy moisture barrier, depending on the manufacturer’s system rating.
See industry standard ASTM F2170 for more information about the test using internal probes for Relative Humidity (RH).
No. Regardless of whether the flooring system is epoxy, tile, rubber, or carpet, the final ESD testing process follows the same industry standards. After installation, the floor is tested for surface resistance, point-to-point resistance, and point-to-ground resistance to ensure it meets ANSI/ESD S20.20 requirements. Grounding connections are also verified. Testing typically occurs 24 hours after final installation and results are documented for compliance records. The consistency of this process helps ensure reliable ESD performance across all flooring types.
Resinous floors like epoxy or polyurethane are installed as liquid-applied systems in sequential layers—including primer, body coat, grounding strips, and top coat. In contrast, tile systems (vinyl, rubber, or carpet) require adhesive application and tile placement, often with fewer steps but more seam considerations.
Only if moisture testing confirms vapor emissions are below industry thresholds. If levels exceed safe limits, a moisture vapor barrier is a required first step before any primer or epoxy can be applied to prevent failure of the static-control system.
We install ESD Flooring nationwide, Including:
Albuquerque, NM, Albany, NY, Anaheim, CA, Anchorage, AK, Arlington, TX, Arlington, VA, Atlanta, GA, Dallas, TX, Houston, TX, Huntsville, AL, Indianapolis, IN, Irvine, CA, Jacksonville, FL, Jersey City, NJ, Kansas City, MO, Las Vegas, NV, Laredo, TX, Lexington, KY, Lincoln, NE, Long Beach, CA, Los Angeles, CA, Louisville, KY, Lubbock, TX, Madison, WI, Memphis, TN, Mesa, AZ, Miami, FL, Milwaukee, WI, Minneapolis, MN, Nashville, TN, New Orleans, LA, Newark, NJ, Norfolk, VA, North Las Vegas, NV, Oakland, CA, Oklahoma City, OK, Omaha, NE, Orlando, FL, Philadelphia, PA, Phoenix, AZ, Pittsburgh, PA, Plano, TX, Portland, OR, Providence, RI, Raleigh, NC, Reno, NV, Richmond, VA, Riverside, CA, Sacramento, CA, Salt Lake City, UT, Blog
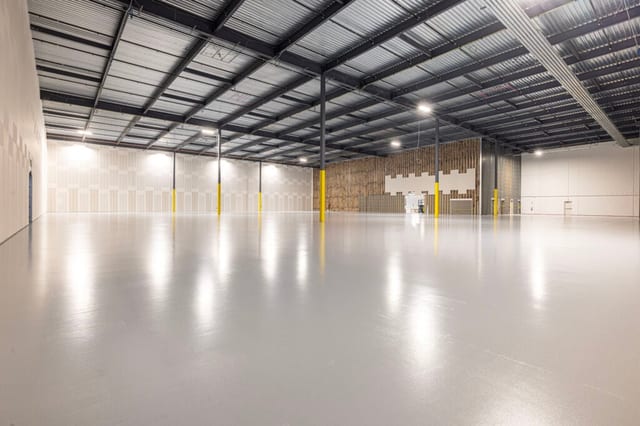
34,000 Sq. Ft. ESD Epoxy Installation in Dallas, Texas
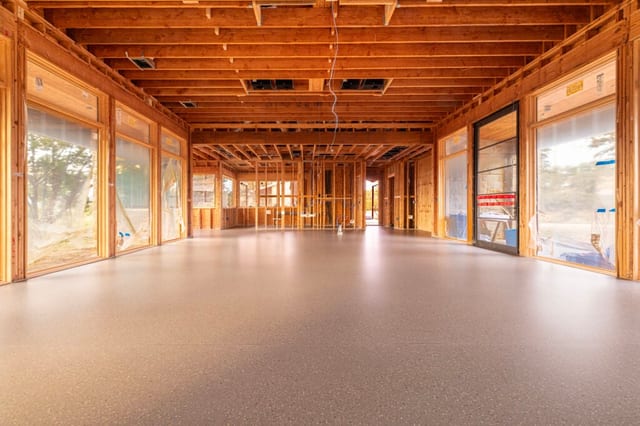
Residential Terrazzo Floors in Fort Worth, Texas
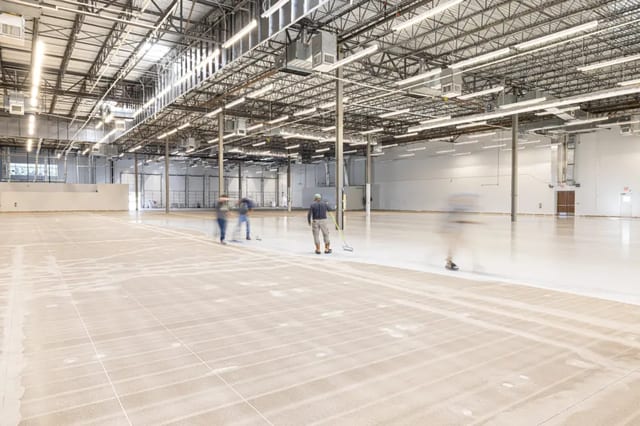
67,000 Sq. Ft. ESD Epoxy in Houston, Texas
