- Failure Mode Diagnosis:
- – bond-line delamination (surface prep failure)
- – blistering (MVER blistering from missed moisture testing)
- – chemical attack (wrong-product spec)
- – thermal-shock cracking
- Demolition: failed epoxy removed by shot blast through the coating or scarification, depending on thickness and bond condition; existing cove base, drain seals, and joint sealants assessed and replaced as needed
- Substrate Assessment: concrete underneath a failed install is rarely sound — laitance, contamination, opened cracks, and slope problems all surface during demolition; substrate work scoped to actual condition, not assumed from the original drawings
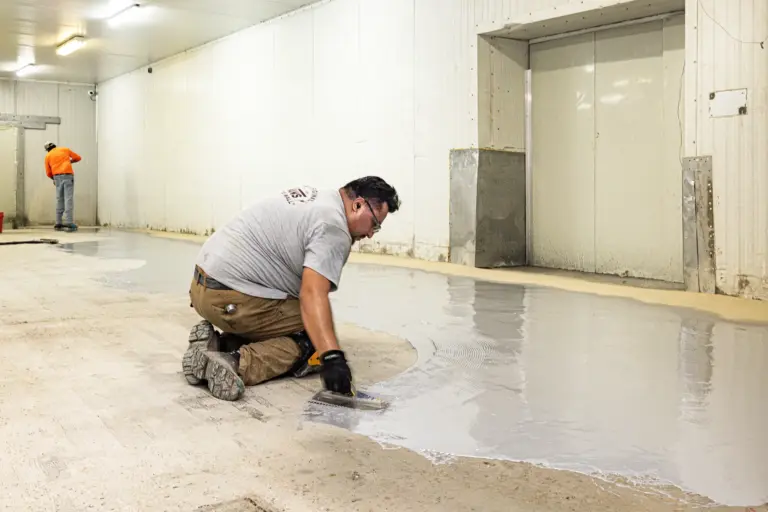
- Crack & Joint Repair: cracks routed and filled, spalls patched, control joints honored or treated per the new system’s spec; ACI 302.1R substrate tolerances verified before any primer
- Moisture Verification: ASTM F2170 in-situ relative humidity probes set fresh in the slab and read at 72 hours minimum, even when the original install was “tested”; manufacturer-published RH and MVER limits held
- Surface Profile Correction: shot blast or diamond grind to ICRI 310.2 CSP 4-5 across the full area; original profile is usually inadequate — that’s part of what caused the first failure
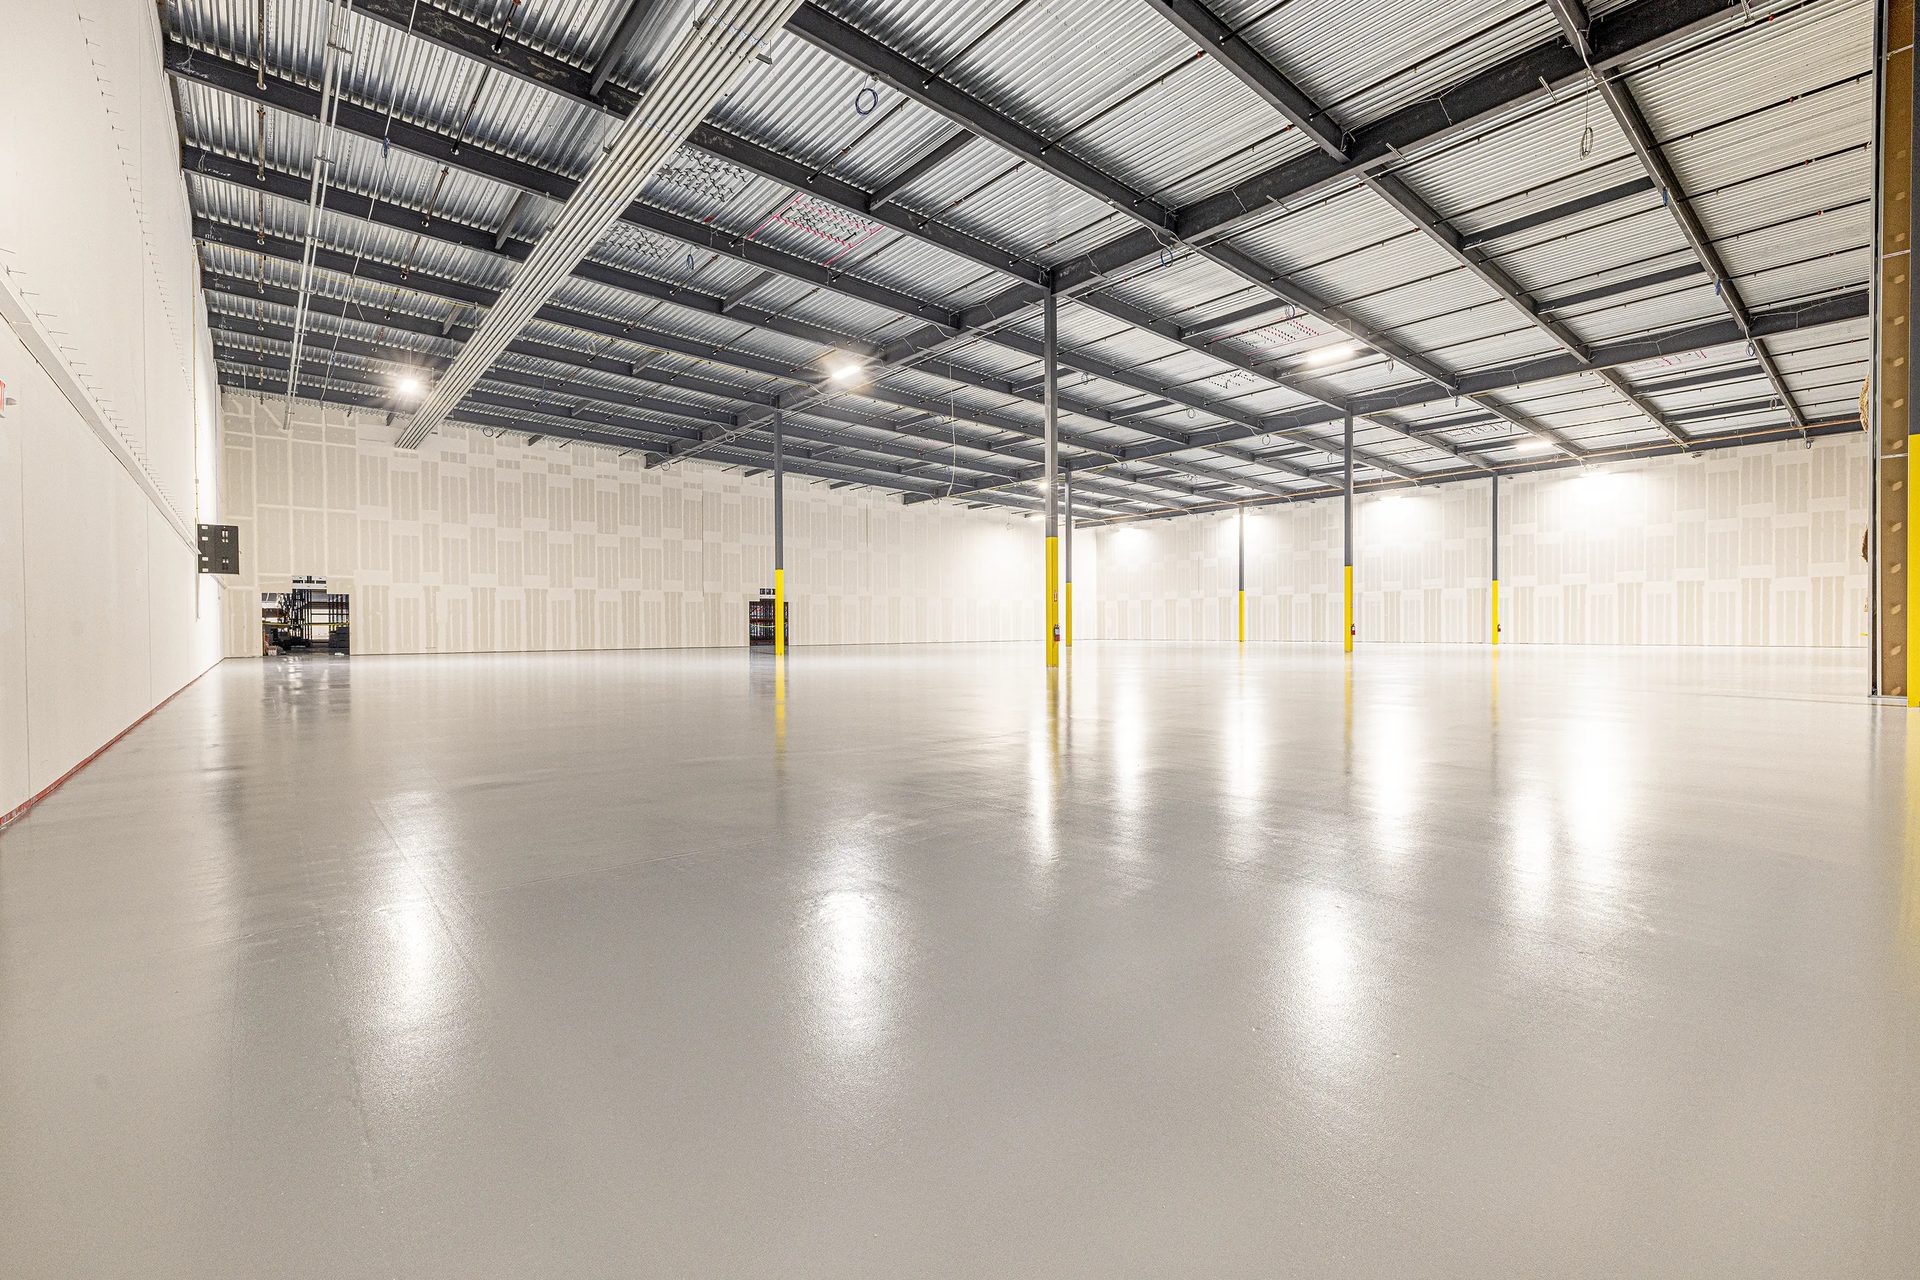
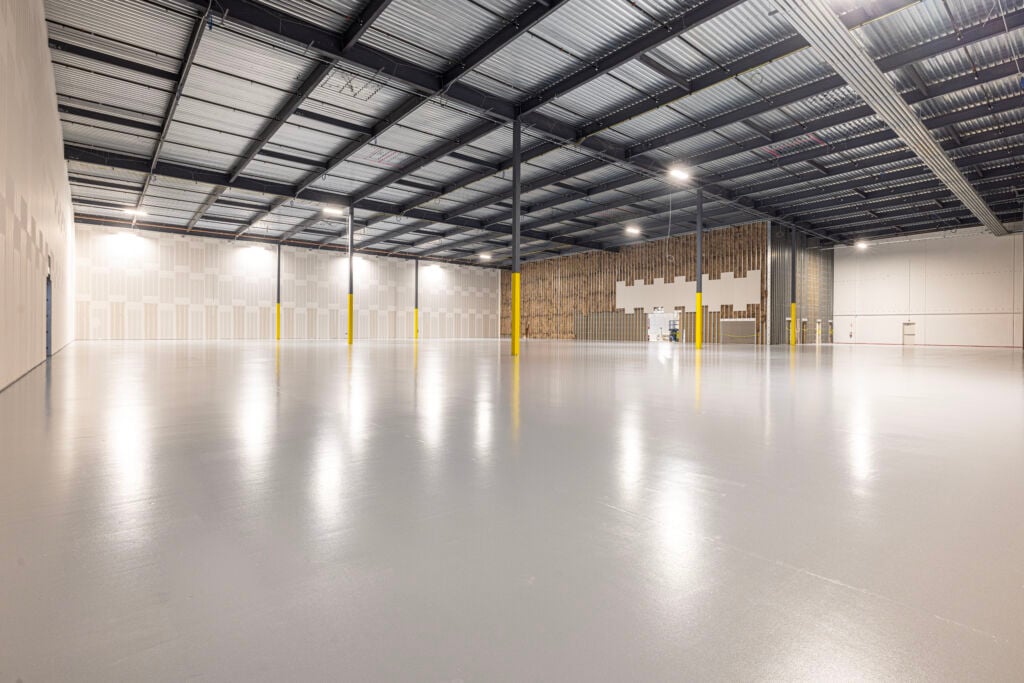
- Replacement System: most often cementitious urethane mortar — the system most failed-epoxy buyers needed in the first place; other systems specified case-by-case based on the diagnosed failure mode and operating conditions
- Integral Cove Base: old caulked cove demolished, new monolithic cove base poured 4-6 inches up the wall as part of the new system; caulked cove failure is one of the most common entry points for the failure that drove replacement
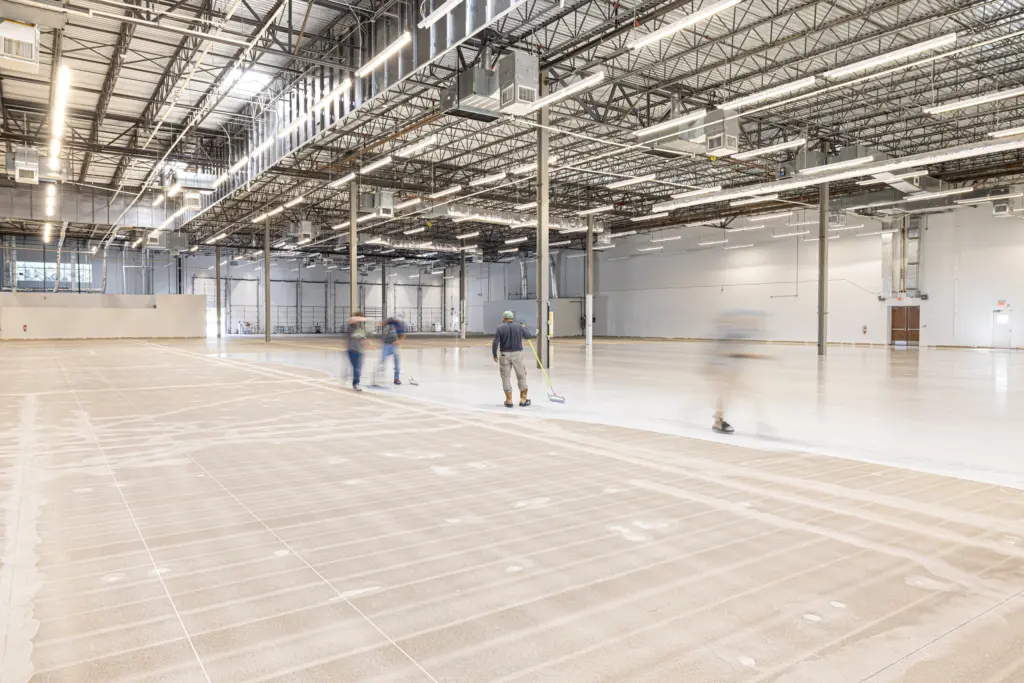
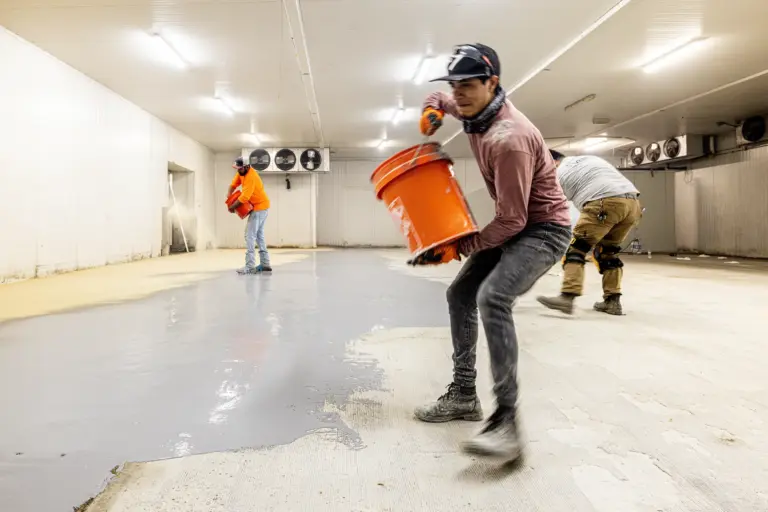
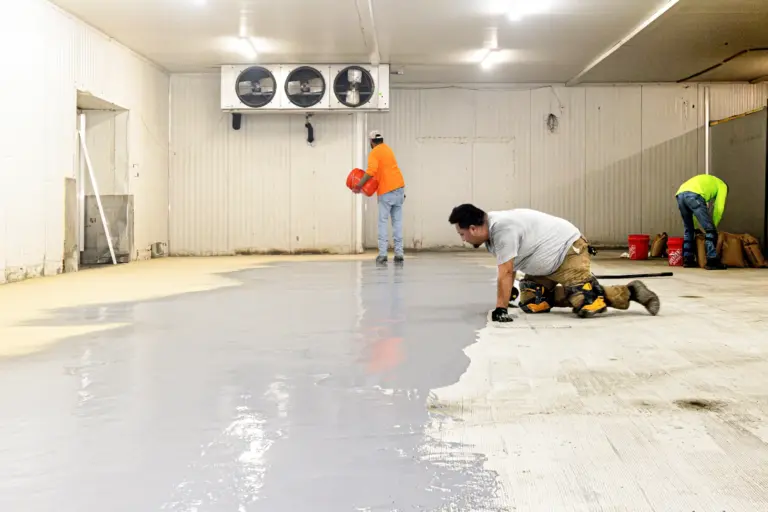
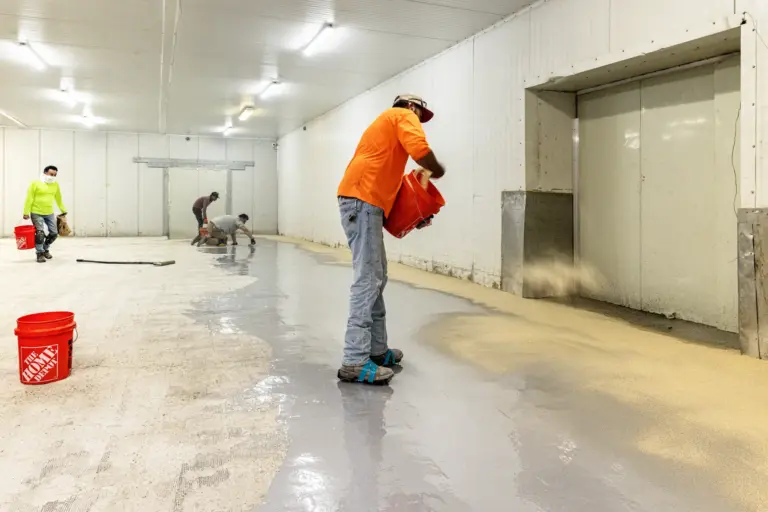
- Phased Replacement: 3-5 day install windows per area on the new system, plus demolition and substrate repair time scoped to the failure; sequenced one production area at a time around sanitation cycles
- Crews: in-house W-2 crews mobilized from Dallas; same foreman walks the failure assessment and runs the replacement install; no subcontracted demolition, no subcontracted mortar placement
- Documentation: failure diagnosis notes, demolition scope, moisture readings, surface prep records, and new-system batch numbers documented in the closeout package — useful both for the new system’s warranty registration and for any insurance or claims activity related to the original failure
- Pricing: $8-15/sqft installed for the replacement UC system; epoxy demolition and substrate repair scoped and quoted separately at the consultation walk based on failure condition
Phone: +1 (844) 687-1961
Most of the urethane cement work we do is replacement, not new construction. A facility put down epoxy three or four years ago, the floor has started peeling at the drains or delaminating along the cove, and now sanitation is flagging the gaps as harborage points. Searches like why is my epoxy floor failing and epoxy floor coming up land here because the previous floor’s manufacturer has either denied the warranty as a workmanship issue or pointed at slab moisture and walked away. For most facilities asking this question, the original spec was wrong. Standard epoxy was never going to last in those conditions. The replacement should be cementitious urethane, and the diagnostic below is to confirm which failure mode put you here — not to decide whether epoxy was the right call.
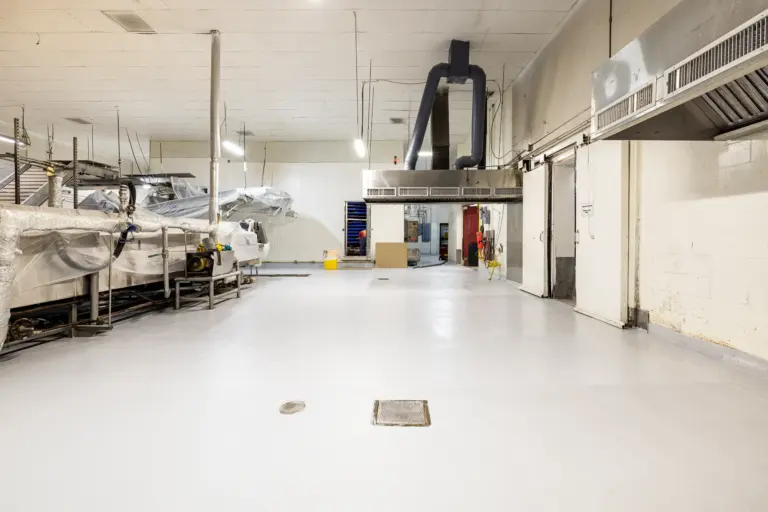
Production-facility epoxy failures fall into four patterns, and three of them point at the same conclusion. Chemical attack — softening, discoloration, slow erosion of the topcoat — happens when standard epoxy gets installed in a food, beverage, dairy, or USDA-inspected facility where lactic acid, organic acids, or daily caustic CIP attack the resin matrix from day one. The floor was going to fail; the only question was when. Thermal-shock cracking and bond-line failure shows up wherever 150°F+ washdowns hit cold-process substrate. Epoxy’s thermal expansion coefficient runs roughly three times higher than concrete, so each cycle pulls the bond apart. Same outcome — the product was wrong for the application. Blistering from below is moisture vapor: the slab was emitting MVER above the manufacturer’s tolerance and no one ran ASTM F2170 in-situ probes before primer went down. In a production facility with washdown floors, the moisture isn’t just coming from below — it’s coming from above too, and impermeable epoxy was always going to trap it. The fourth failure mode — bond-line delamination from chemical etching, hand grinding, or coating bonded to laitance instead of sound concrete — is the one case where corrected surface prep and a re-installed epoxy could theoretically work. But if the facility has any production chemistry, any thermal cycling, or any washdown moisture, the next epoxy floor will fail for one of the other three reasons within the warranty period. UC is the replacement scope in nearly every case we get called for.
The replacement scope is more involved than a fresh installation. Failed epoxy has to come up — typically by shot blasting through the existing coating or scarifying it off, depending on thickness and bond condition. Substrate underneath is rarely in spec after a failed install: laitance from the original surface prep, contaminated concrete from the failure event itself, slab cracks that opened under thermal cycling, slope problems that pooled chemistry at low spots. Repair work integrates with prep — routing and filling cracks, patching spalls, profile correction where the original grind was uneven. ASTM F2170 moisture probes go in fresh and read for 72 hours before any new system goes down, even on a slab that was “tested” before the failed install. ACI 302.1R substrate tolerances are verified. Then the UC mortar system goes in — placed to the manufacturer’s published procedure, with integral cove base poured monolithic to 4-6 inches up the wall to eliminate the floor-to-wall seam where the previous epoxy first started failing.
Craftsman has been replacing failed industrial flooring since 1999. Replacement projects in food and beverage processing, dairy and meat plants, breweries and distilleries, commercial kitchens, and pharmaceutical facilities — all the verticals where epoxy was the wrong product for the conditions it was placed in. In-house W-2 crews mobilize nationwide. Replacement timelines run 3-5 days per area for the new UC installation, plus demolition and substrate repair time scoped to the failure. Foot traffic returns at 12-24 hours after final coat, full chemical service within 72 hours. Pricing for installed UC sits in the $8-15/sqft range; epoxy demolition and substrate repair add to that scope and are quoted separately at the consultation walk.
Our Clients


urethane Cement Installation Gallery
Request a Proposal
Submit project parameters for preliminary analysis. Commercial estimates typically returned within 24 hours.
urethane Cement Flooring Knowledge Center
Resource links
Sherwin-Williams Poly-Crete Systems
Sika Ucrete Systems
Industries Served
Technical Performance
Selection & Standards
Costs, Comparisons & Legacy Names
Frequently Asked Questions
Replacement projects come in two parts. The new cementitious urethane system installs at $8-15/sqft — same range as new construction, with system thickness, cove base linear footage, and drain count driving where the project lands inside that. Demolition and substrate repair are scoped separately based on actual failure condition: how much of the original epoxy is still bonded versus loose, how aggressive the demolition method needs to be, what shape the substrate is in underneath, and whether cracks, slope, or contamination need to be addressed before the new primer goes down. We quote both parts at the consultation walk after diagnosing the failure mode.
One of four root causes, usually. Surface prep failure is one — the original install bonded to laitance instead of sound concrete because chemical etching or hand-grinding got substituted for shot blast to ICRI 310.2 CSP 4-5. Moisture vapor is another — slab MVER exceeded the manufacturer’s limit and ASTM F2170 in-situ moisture testing was skipped, so vapor lifted the impermeable epoxy from below as blisters. Wrong-product spec is the third — standard epoxy in an environment where organic acids, daily caustic CIP, or thermal cycling were always going to attack the resin matrix. Thermal shock is the fourth — 150°F+ washdowns hitting cold-process substrate cracked the rigid coating at the bond line within 50-100 cycles. Diagnosing which one applies determines what to install next.
Sometimes, depending on the failure mode and how much of the floor is involved. Localized bond failure at drains or transitions can be cut out, prepped, and patched with the original system if the rest is sound. Widespread delamination, blistering across most of the floor, or chemical attack of the resin matrix are not repair scenarios — patching them buys six to twelve months and the same failure resumes. The diagnosis at the consultation walk decides between repair and full replacement. Most projects that get here through search are full replacements; localized repair is the exception.
Usually not, in our experience. Epoxy warranty denials cluster around two findings: workmanship issues (manufacturer claims the installer’s surface prep, moisture testing, or environmental conditions during placement caused the failure) and out-of-spec conditions (manufacturer claims the operating environment exceeded the product’s chemistry, temperature, or moisture limits). Both findings shift cost to the facility owner. Documentation from the replacement install — failure mode notes, demolition records, fresh moisture readings, new surface prep records — supports any claims activity if the original installer or manufacturer is being pursued, but should not be assumed to fund the replacement.
3-5 days per area for the new cementitious urethane installation, plus demolition and substrate repair time scoped to the failure. A clean delamination over sound concrete adds a day or two for shot blast through the old coating. A failure with contaminated substrate, opened cracks, or slope problems can add three to five days of substrate work before the new system starts. Foot traffic returns at 12-24 hours after final coat of the new system, full chemical service within 72 hours. Active facilities are sequenced one production area at a time around sanitation cycles so the rest of the plant keeps running during replacement.
Nationwide installation. Estimating and scheduling coordinated through Dallas headquarters. In-house W-2 crews mobilized to project sites. Craftsman Concrete has been installing industrial flooring since 1999.
Blog
ESD Epoxy Flooring Case Study: 34,000 SF Dallas, TX
Residential Terrazzo Floors in Fort Worth, Texas